Hacker News Vue Top Stories Client
Introduction
Over the past few years, I've used AngularJS as my front-end framework for most web projects. With the release of Angular and React, I tried both of them and while both are great tools the learning took significantly longer because I also had to learn the bundler systems and in the case of Angular, TypeScript. Although the CLI tools go a long way towards automating a lot of the setup process, building an application from scratch in these frameworks is not intuitive especially for a newcomer. In the early days of Vue, I was able to attend a Meetup presentation by Evan You which went over the philosophy of Vue as well as its capabilities. I was instantly interested because of how easy it was to get started. Since that presentation, I have not had time to try it but with AngularJS being phased out, I felt it was about time to start exploring another framework. To get a better understanding of the framework's features prior to using CLI tools, I created a standalone application that relies only on NPM packages. In this writeup, I will create a Hacker News client with Vue that calls the Hacker News API and displays the top 50 stories. Source code for this project can be found in the following repository.
Prerequisites
Initialize Project
The first thing we want to do is create a directory for our project and initialize it with NPM
mkdir hnvuedemo
cd hnvuedemo
npm init -y
Install Dependencies
Next, we want to install our dependencies. (Express is optional)
npm install --save vue axios express
Create Server (Optional)
We can set up a server to host and serve our content. This is optional though because the application should still work when the index.html file is opened in the browser.
In our root project directory, we can create the server.js file and add the following content:
var express = require("express");

const PORT = 3000 || process.env.PORT;

var app = express();

app.use(express.static("."));

app.get("/", (req, res) => {
  res.sendFile("index.html");
});

app.listen(PORT, () => {
  console.log(`Listening on port ${PORT}`);
});
Create Application
Create The View
Now it's time to create our application. Let's start by scaffolding the index.html which is where our application will be displayed.
<!DOCTYPE html>
<html>
<head>
    <script src="./node_modules/vue/dist/vue.min.js"></script>
    <script src="./node_modules/axios/dist/axios.min.js"></script>
</head>
<body>
    <!--App Content Here-->

    <!--App Scripts Here-->
</body>
</html>
We want to add the scripts to the Vue and axios packages in our head element. We'll hold off on the content for now.
Get Data
Our data source for this project will be the Hacker News API. To interact with it, we'll be using the axios NPM package. The data collection happens over several HTTP requests, therefore to help with it we'll be creating a file called apihelpers.js in our root project directory that will contain functions to get and manipulate the data.
Get Top Stories
The first thing we want to do is get a list of top stories. We can do so via the /topstories endpoint. The response of this request returns a list of ids which can then be used in conjunction with the /item/{id} endpoint to get the individual story data. We can then validate the story object to make sure it is a story as opposed to a user or job posting and return a list of all the story objects. The functions that will help us with that are getIds, isStory and extractStories.
/**
 * Checks whether the item is a story
 * @param {Object} story - Story object
 */
function isStory(story) {
  return story.type == "story";
}

/**
 * Gets ids of stories
 * @param {string} url - Url to fetch story ids
 */
function getIds(url) {
  return axios.get(url);
}

/**
 *
 * @param {Array<Object>} - List of resolved promises
 */
function extractStories(...responses) {
    var stories = responses.map(story => story = story.data);
    return stories.filter(isStory);
}
Create Vue App
Now that we have our helper methods to make calls to the API, we can create our application.
We can start by creating our Vue instance which is where our application will live. We can create a file called app.js in our root project directory and add the following content:
//Components Go Here

new Vue({
  el: "#app",
  data: {
    title: "Hacker News Vue Simple Reader",
    loading: true,
    topStories: []
  },
  methods: {
    getTopStories: function() {
      getIds(
        "https://hacker-news.firebaseio.com/v0/topstories.json?print=pretty"
      )
        .then(ids => buildRequest(ids.data.splice(0, 50))) //Only get first 50
        .then(getStories)
        .then(axios.spread(extractStories))
        .then(stories => {
          this.topStories = stories;
          this.loading = false;
        })
        .catch(e => console.log(e));
    }
  },
  created: function() {
    this.getTopStories();
  }
});
There's a lot happening here, so let's break it down based on the properties of the object passed to the Vue constructor.
The el property is like a selector which tells the application which element it should operate on. The value #app tells it to look for an element where the id attribute is app. This of course can be anything of your choosing.
The data property specifies the properties that contain the data of our application. These properties are reactive which means that whenever they change, that change is reflected in our view. As such, even if they have no value when the application starts, in order for them to automatically change when data is passed to them, they need to be declared in the data property. In our application, we have a title property which will be the title of our web page, topStories which is where we'll store the list of Hacker News stories and loading which we'll use to let us know when data is being loaded into our application.
In the methods property, we define functions that we want our application to use. In this case, I created the getTopStories method which chains together all the functions defined in our apihelpers.js file to return the top 50 stories on Hacker News.
Finally, Vue has instance lifecycle hooks. The created property defines what should happen when our instance is created. In our case, we want to call the getTopProperties method which is defined in our methods property to load the data, update our topStories data property and set loading to false because our data has loaded successfully.
Add App to View
Now that we have created the logic of our application, it's time to add it to our view. We can do so by adding the apihelpers.js and app.js files to our index.html file via script elements.
<!DOCTYPE html>
<html>
<head>
    <script src="./node_modules/vue/dist/vue.min.js"></script>
    <script src="./node_modules/axios/dist/axios.min.js"></script>
</head>
<body>
    <!--App Content Here-->

    <!--App Scripts Here-->
    <script src="apihelpers.js"></script>
    <script src="app.js"></script>
</body>
</html>
Display Data
Although we can now use our application logic inside of our view, we still can't see any of it because we have not added elements to display it. To view our application data, we can add the following code to our index.html file below the <!--App Content Here--> section.
<div id="app">
    <h2>{{title}}</h2>
    <h5 v-if="loading">Loading...</h5>
    <story v-for="story in topStories" :key="story.id" :story="story"></story>
</div>
The final index.html contents should look like the content below:
<!DOCTYPE html>
<html>
<head>
    <script src="./node_modules/vue/dist/vue.min.js"></script>
    <script src="./node_modules/axios/dist/axios.min.js"></script>
</head>
<body>
    <div id="app">
        <h2>{{title}}</h2>
        <h5 v-if="loading">Loading...</h5>
        <story v-for="story in topStories" :key="story.id" :story="story"></story>
    </div>
    <script src="apihelpers.js"></script>
    <script src="app.js"></script>
</body>
</html>
As mentioned earlier, we created an element, in this case a div that has the id attribute with a value of app. This is how our application knows where to display our content. Inside of an h2 element, we display our title data property. Below it, we have an h5 element that displays the text "Loading...". However, this is to only be displayed when our loading data property is true. If not, it should not be visible. We can achieve this conditional rendering via the v-if directive. This directive evaluates the expression inside of it and renders content based on its truthiness.
Finally, there's one last piece that looks like an element, but not one of the built-in HTML elements. So then, what is it? It's a component. The Vue website defines a component as "...a reusable Vue instance with a name: in this case, <story>. We can use this component as a custom element inside a root Vue instance...". In our component, the v-for directive is what it sounds like. It creates a sequence of story components based on a list of objects defined in our Vue instance's data property. Our story component iterates over the topStories data property and assigns the value of the individual object in the list to the variable story. We bind the id property of the story object to the key attribute of the component and pass in the entire object to the component via the story prop. A prop is a custom attribute that you can register for the component. We can use props to pass data into the component. In all cases, the : prefix on the attributes and props of the component are shorthand for the v-bind directive which dynamically binds an expression to an attribute or component prop.
With all that being said your next question might be, how does the view know about this component? The answer is it doesn't at least not until you define it which is what we'll do next in our app.js file. In order for our story component to be usable, we need to define it above the instantiation of our Vue instance. The definition looks like the following:
Vue.component('story',{
    props: ['story'],
    template: `
        <div>
            <h3><a :href="story.url" target="_blank">{{story.title}}</a></h3>
        </div>
    `
});
Like our Vue instance, let's unpack what's happening here. The first parameter is a string with the name of our component. The props property is a list of the props or custom attributes that are accepted by our component. The template property is where we set up the template of what will be rendered in place of our component in the view. In our case, we'll have an h3 element with a nested a element whose href attribute is the url property of our story object and the display text is the title property of our story object.
Run Application
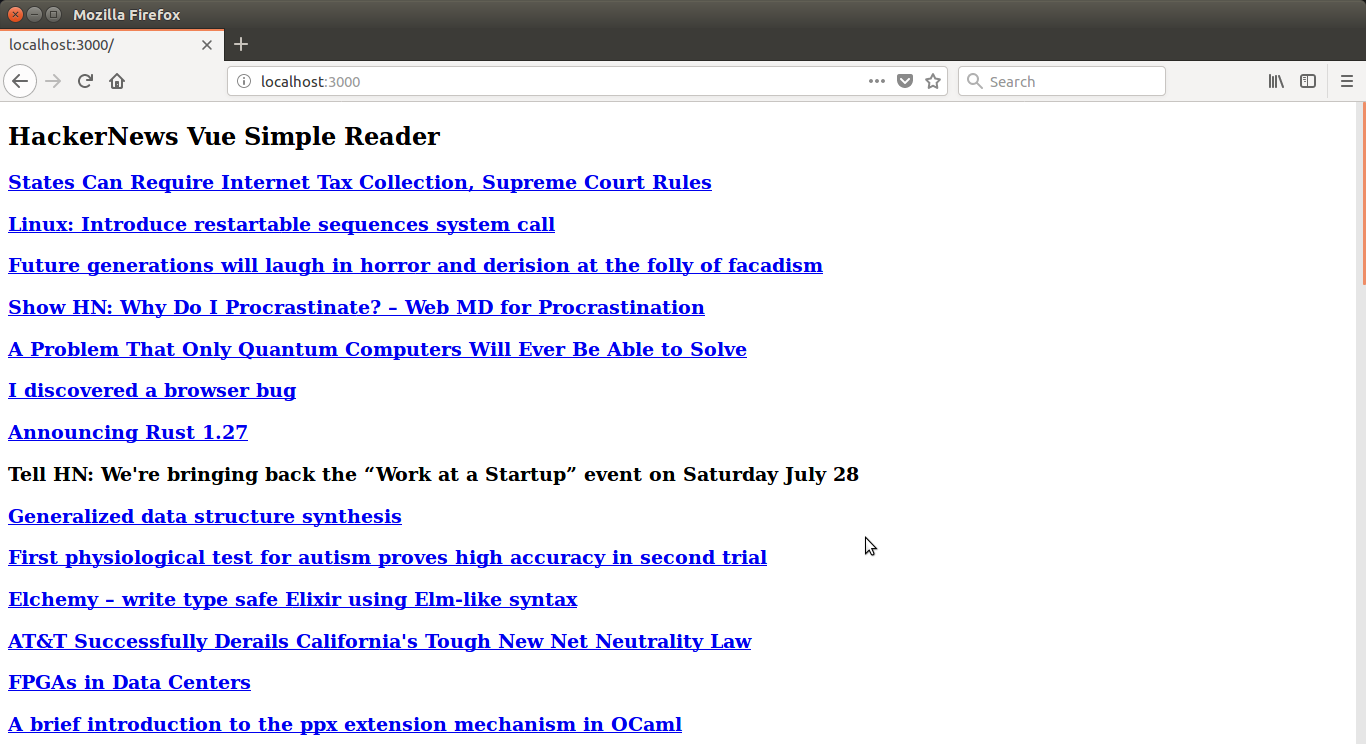
At this point, our application should be ready to run. You can either start the server with the following command npm start and navigate to http://localhost:3000 or open the index.html page in the browser of your choice. The result should look like the screenshot below:
Conclusion
In this writeup, I built a standalone Hacker News client that displays the top 50 stories using Vue while also highlighting some of its main features. Overall, I really enjoyed building this application. The setup process was extremely simple and after a few hours looking through the excellent documentation and working through some bugs, it took less than two hours to get this application up and running from start to finish. For prototyping and learning purposes, Vue is great because you're able to take advantage of the core features of the framework without having too much overhead. Although this may not be the most appropriate way to build production-ready applications, it's nice to know you can have a modern web application with minimal setup required. My next steps will be to continue learning some of the other features the framework provides and eventually build up to learning how to use the CLI tools.